
Whether you are framing a favorite photograph or an original canvas painting, the use of LED light strips can bring the art within the frame to life. This guide will share step by step instructions to construct a simple but modern art frame that is complemented by the integration of LED light strips.
Before getting started, here is a list of materials needed for this project:
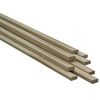
1 x 3 x 8 pine furring strip - $2*
2 x 2 x 8 furring strip - $2*
Brad nails and construction adhesive - $6
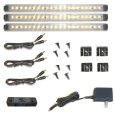
LED lighting kit(s) - $46
1/8th in. glass pane - $4 (optional)
*quantity of furring strips will vary with size of frame. This material list is for the construction of one 18” x 24” frame Total Cost: $60
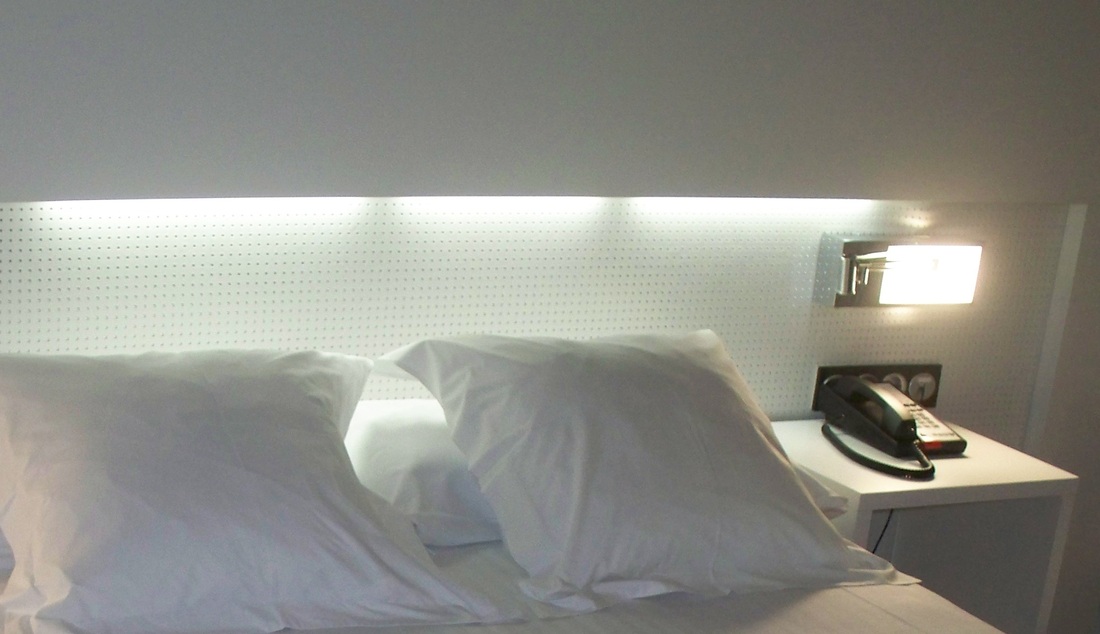
Making a unique, modern LED headboard is a fun project that can be built and mounted in a weekend for only a few bucks. This article will cover materials and products needed to complete the project; as well as a few helpful tips to guide you along the way. Here is a list of materials you will need:
Total cost: $76
Other miscellaneous materials include screws and construction adhesive.
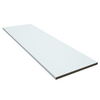
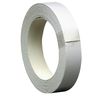
First, start with a sheet of melamine. This will be the primary structure of your headboard. Melamine is a building material that has similar properties to a laminate countertop, but is sold in thinner sheets that are dimensionally similar to plywood and drywall. Melamine is also commonly used to build cabinets and shelving. If you prefer to keep this process as simple as possible, purchase a pre-cut shelf that comes in a variety of sizes. It comes in white but can be painted a desired color to match your bedroom. Don’t forget to cover the unfinished edges of your headboard with BAND-IT iron on edging for a professional look.

There are many ways one can lower energy bills. The key is identifying where a home is most energy inefficient. This contributing factor could be one of many different deficiencies that are often relatable to a particular region's climate or how certain homes were built at a certain time. For example, older homes were built with very little or no insulation, making the contributing factor for high energy bills the building envelope. In older climates where heating systems are in demand for most of the year, well insulated windows walls and doors are often cost effective energy upgrades.
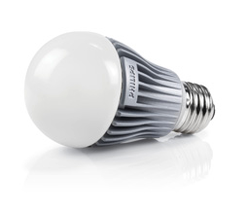
While heating and cooling loads drive up energy costs there are other common energy deficiencies that are often overlooked. A DIY home energy audit can help you determine what these are. While aspects of an energy audit relating to the building envelope are pretty straight forward, finding sources of inefficient lighting technology is a little less intuitive.
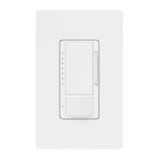
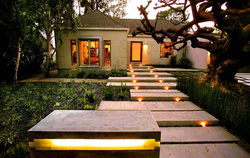
Controlling a low voltage lighting system with an occupancy sensor is an extravagant and energy efficient addition to a variety of low voltage lighting applications around your home. Low voltage lighting is becoming increasingly popular in DIY home projects and renovations because it is inexpensive, low maintenance, and easy to install. While it can be used in practical applications such as security lighting, under cabinet lighting or to illuminate trip hazards in a dark backyard patio, it is also used as accent lighting in bookshelves, cabinets, and gallery spaces.
In most cases, an occupancy sensor can be added to your low voltage lighting kit to supplement and further enhance the practical and aesthetic features in many ways. Often these lighting kits are installed and then frequently ignored because they are not essential lights for everyday activity. But if they are controlled by an occupancy sensor switch they will automatically turn on when the space is occupied and turn off when the area is vacant for a designated amount of time.

There are many automated lighting systems on the market today. Each company that develops their own 'unique system' seeks to sell you not only their product but a lifetime obligation to their services. First, the system will have to be installed by one of their professionals and then you must pay to 'unlock' new features. All the while, the cost effectiveness of an automated lighting system seems to go out the door. So before you commit to a state of the art product and service, consider building your own automated lighting system with individual components. If well executed you can create a luxurious, convenient lighting system on the cheap that will provide energy savings for years to come.
First you must become familiar with what technology is out there. There several types of wireless communications, two in particular are most commonly used in lighting. The first is infrared technology. Infrared light is electromatic radiation that has a wavelength longer than visible light. These wavelengths are communicated by a corresponding frequency range. Each frequency communicated signals a different function or command to the end user lighting component. The other type of wireless communication is a wireless local area network (WLAN) or Wi-Fi. Each component within the automated lighting system will have an IP address on a network and transmit communications resulting in lighting controls and responses. The main benefit of Wi-Fi communications over infrared is that communications are relayed over the network and each component can send signals both forward and backward. Also all activities can be monitored by a base station on the network. This could be your home computer with Wi-Fi access or your smart phone. The base station logs onto the network and can monitor all signals being transmitted and even schedule activities. This is very helpful in creating an automated lighting system.
Now you can shop for lighting components that communicate on one of the two platforms and start to assemble a
unique one of a kind lighting system. One lighting component that is crucial to any lighting system is an occupancy sensor. While occupancy sensor switches are not ideal for all spaces and applications they can automatically turn lights off when not needed in areas of your home or office where you usually leave the lights on. This will help you save tons of money on your energy bills. Occupancy sensors are available to fit in a wall switch junction box or for a ceiling mounted application. There are
also a variety of lamps and LED fixtures that come fitted with occupancy sensors built-in. This option adds an extra dimension of flexibility to your DIY automated lighting system design; allowing you to place sensored lighting in areas where conduit had never been installed.


 RSS Feed