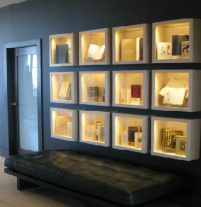
Building a shadow box wall can be done many different ways. This guide will share step by step instructions to building the wall from scratch, and embedding the shadow boxes in the structure of the wall for a clean, unobtrusive finish. If you are modifying an existing wall, supplemental instructions will be included along the way.
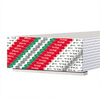
Before getting started, here is a list of materials needed for this project:
Before getting started, here is a list of materials needed for this project:
 |  |
 |  |
Total Cost: $130 (Modifying an existing wall can be done for as little as $69)
Step 1-(framing the wall)
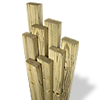
With basic construction skills, this step is easy enough. Build the wall on the floor, first, spacing studs on 16 inch centers. Measure from corner to corner in each direction to ensure the wall is square. Frame out the shadow box with jack studs and sill plates as shown in the picture. Stand the wall up and secure it to the subfloor and ceiling joists.
If modifying an existing wall, locate the studs that your shadow box will be mounted between. Use a drywall handsaw to cut away drywall carefully and ensure that you do not cut any conduit within the wall. (tip: choose a portion of the wall that is local to an outlet receptacle. It is also recommended to modify interior, uninsulated walls.)
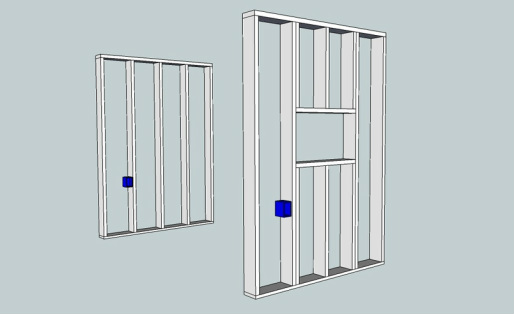
Attach the junction box 16 inches from the ground. This will house the outlet receptacle that will provide power to your LED light strips.
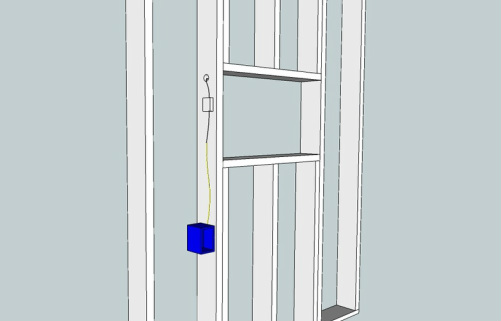
Step 2-(electrical)
If unfamiliar with electrical work, it is highly recommended to hire a qualified electrician for this step. For expert do-it your selfers: splice conduit from the wall you are tying into and feed it to the junction box. Drill a small hole (~1/2”D) through the
king and jack stud that the junction box is attached to.
Depending on the LED lighting kit you are doing this portion of the step may vary.
If using an inline low voltage transformer, make the connection to the conduit and mount the transformer above the junction box on the stud. Run the low voltage wires through the hole you just drilled. Secure all wires by tacking large staples snug around the insulation.
If using a low voltage adapter that plugs directly into an outlet, simply install an in-wall outlet box to plug the adapter into. Feed the cord up through the hole and secure.
Step 3-(drywall)
This step is pretty straight forward but crucial for a quality final product. Make the vertical joint for two pieces of drywall occur in the middle of the shadow box sills. Although more challenging cuts are required it will prevent cracking from the one corner. Cover drywall seams with paper tape and joint compound. Sand and paint as desired. Also be sure to cover the inside of your framework with drywall for a complete finish. Use corner bead or folded tape with joint compound to hide ugly joints inside the edges of the box.
This step is pretty straight forward but crucial for a quality final product. Make the vertical joint for two pieces of drywall occur in the middle of the shadow box sills. Although more challenging cuts are required it will prevent cracking from the one corner. Cover drywall seams with paper tape and joint compound. Sand and paint as desired. Also be sure to cover the inside of your framework with drywall for a complete finish. Use corner bead or folded tape with joint compound to hide ugly joints inside the edges of the box.
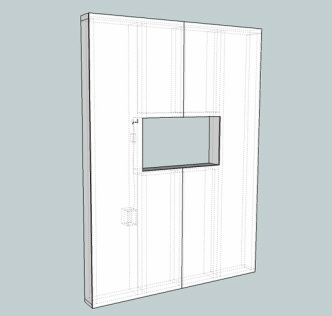
Designer’s choice: Paint the inside of the shadowbox a darker shade of the actual wall color, or paint it charcoal or black to really accentuate the items in the shadow box when the LED lights are on.
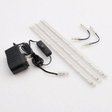
Step 4-(LED lighting)
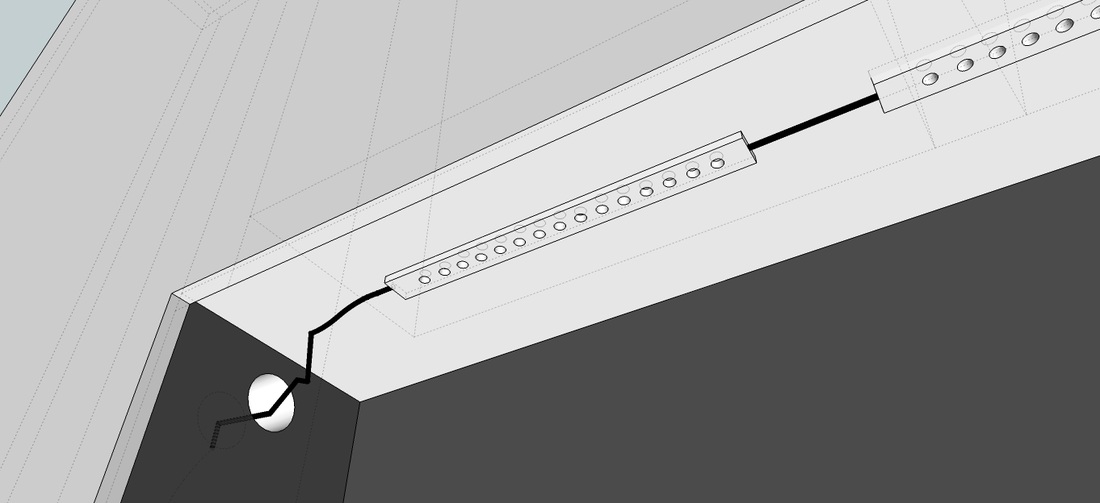
LED light strips are great because they are sleek and easy to install. Attach the light strips to
the bottom of the top side of the box using the hardware provided in the kit. The instructions included with your LED lighting kit should provide more specific direction. Space strips evenly, and connect using the provided link cables to each strip and back to the power source. Turn your breaker back on and flip the light switch to ensure everything is working properly. To avoid any devastating steps backward it is a good idea to check for functionality before hanging the drywall (step 3).
Step 5-(trimwork)
This step is optional. After sanding and painting your drywall you may be satisfied with the modern look of your shadowbox wall. The LED strips are thin enough that they are not obtrusively visible mounted inside the box. However, if you would like to conceal them more or match the existing traditional décor in your home, add trim work around the perimeter of the box and offset a ½” lip over the top side of the box. You can do the same with rectangular section trim for a contemporary compromise. Paint the trim to match your baseboard or crown moulding.
This step is optional. After sanding and painting your drywall you may be satisfied with the modern look of your shadowbox wall. The LED strips are thin enough that they are not obtrusively visible mounted inside the box. However, if you would like to conceal them more or match the existing traditional décor in your home, add trim work around the perimeter of the box and offset a ½” lip over the top side of the box. You can do the same with rectangular section trim for a contemporary compromise. Paint the trim to match your baseboard or crown moulding.


And finally, the fun part. Showcase whatever items you would like to pop, and watch all your hardwork come to life. Example items would be modern art or decorative vases. You can even show off photos or paintings in professional gallery light.
Be creative. Using similar construction techniques you can build an LED shadow box wall in a variety of different configurations.
Be creative. Using similar construction techniques you can build an LED shadow box wall in a variety of different configurations.
 RSS Feed